Colorful, hardy geraniums are popular as perennial garden plants in warm climates and may be grown as annuals in colder climates.
With their beautiful blooms and attractive foliage, they make a great addition to flower beds and borders as well as in containers, window boxes, and hanging baskets.
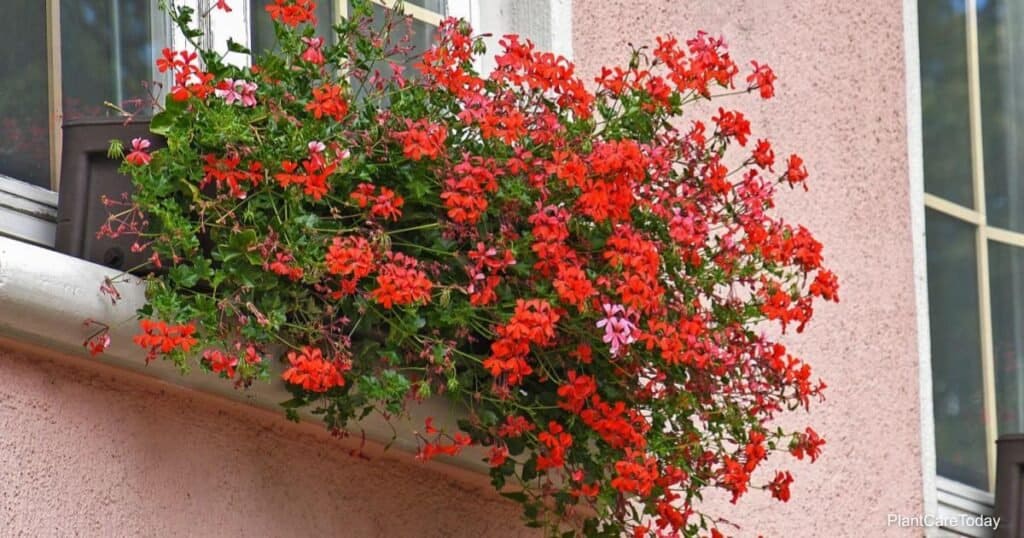
In addition to common garden variety geraniums (Pelargonium x hortorum), you can brighten your garden and your home with hanging ivy (Pelargonium peltatum) varieties and rugged, easily naturalized Cranesbill geraniums (Geranium spp).
- 10 Geranium Propagation Questions And Answers
- When Should You Take Geranium Cuttings?
- How Do You Choose The Right Stems To Use As Cuttings?
- What’s The Best Way To Remove Cuttings From The Parent Plant?
- How Do You Start Geranium Cuttings In Water?
- How Do You Start Geranium Cuttings In A Potting Medium?
- How Long Will It Take For Roots To Grow?
- Should You Use a Rooting Hormone?
- Should You Cover The Cuttings With Plastic?
- How Do You Transplant Geranium Cuttings?
- How Do You Transition Geraniums To An Outdoor Setting?
One of the most attractive aspects of growing and keeping geraniums is that these pretty plants are easy to propagate from cuttings.
This comes in handy if you live in a cold setting and wish to take cuttings before winter to preserve and expand your collection in anticipation of the coming springtime.
Propagating geraniums from cuttings is also a great way to affordably add to your collection.
In this article, we’re going to share 10 of the most important questions and answers regarding starting and growing geranium cuttings.

10 Geranium Propagation Questions And Answers
When Should You Take Geranium Cuttings?
The best time of year is in the springtime when the plant begins producing new growth.
However, you can take cuttings from a healthy plant at any time of year.
It is very common to take cuttings in the autumn and grow them indoors through the winter to have plenty of fresh, new plants in the springtime.
How Do You Choose The Right Stems To Use As Cuttings?
- Look for strong, healthy stems with a minimum of two flawless leaves.
- Damage and signs of any disease on your geraniums are disqualifiers.
- Stems should be healthy and green, not woody. Good cuttings should be between 4” and 6” inches long.
What’s The Best Way To Remove Cuttings From The Parent Plant?
Be sure to use a very sharp, sterilized cutting implement.
If you are working with more than one plant, do the following steps:
- Sterilize your blade between plants to avoid spreading any germs, contaminants, or pests that might be present.
- Make a clean-cut at a 45-degree angle 4” to 6” inches from the tip of the stem.
- Be sure that your cutting contains at least one leaf node.
- Trim away blooms and lower leaves so that your cutting consists of a healthy stem and two or three healthy leaves at the tip of the cutting.
If you keep flowers or too many leaves, the cutting will have less energy to produce roots.
How Do You Start Geranium Cuttings In Water?
- Put your cuttings of geraniums into a clear glass jar or vase that is deep enough to allow you to cover the stems with clean water.
- Take care not to let the leaves sit in water.
- Don’t overcrowd your cuttings. If one jar is a tight fit, use two or more.
- Put the jar in a consistently warm area (65° to 75° degrees Fahrenheit) and receive very bright, indirect sunlight.
- Geranium cuttings need lots of bright light to encourage root growth, but harsh, direct sunlight can be damaging.
- Change the water every day, using clean, room temperature water that has been allowed to sit in the open for 24 hours so that all the chemicals have a chance to evaporate.
Rinse the stems lightly when you change the water is also a good idea.
This will help discourage fungal growth.
How Do You Start Geranium Cuttings In A Potting Medium?
To start your geranium cuttings in a sterile potting medium, you would begin by taking cuttings as described above. The next steps to do are as follows:
- Set them aside in a shady, sheltered area for several hours or overnight to allow the ends of the cuttings to callus and help prevent stem rot.
- Prepare your starter pots while waiting for your cuttings to callus over.
- Prepare one large container or several smaller containers, at least 4” to 6” inches deep with ample drainage holes.
You’ll also need a light, airy, sterile potting medium.
A standard potting mix with coarse sand or vermiculite added is a good choice.
Some growers prefer to use a soilless mix of sharp sand and peat moss.
Still, others like to start geraniums in just sand and then transfer them to the soil when they show new growth.
To transfer the geraniums to the soil, you can do the following steps:
- Fill your containers rather loosely with your potting medium. You can fill them to the top because you will firm the mix down after you introduce the cuttings.
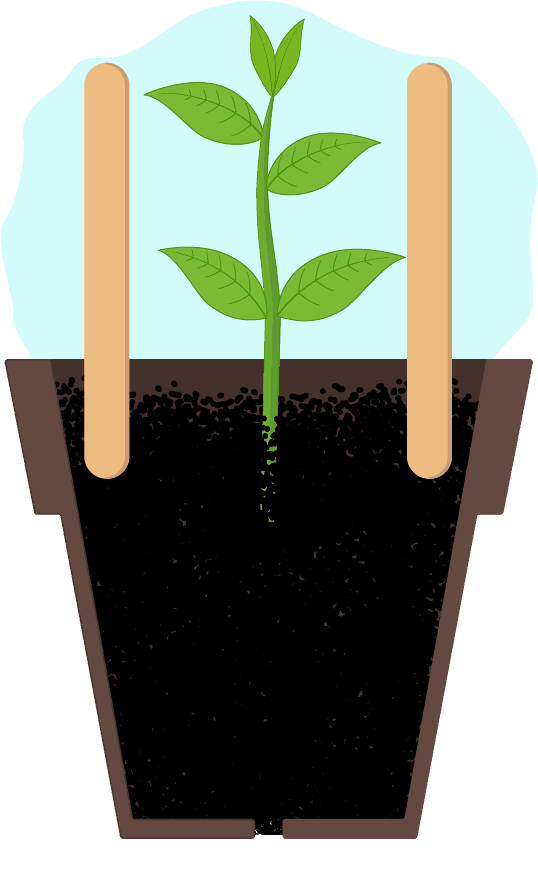
- When you are ready to plant your cuttings, use a stick, pencil, or similar implement to poke a hole in the potting mix.
- Don’t just push the cutting into the mix because this can be damaging.
- Place your cuttings into the holes you have prepared and press and firm the soil around the cuttings.
- Be sure that the soil covers the leaf nodes on the stems because this is where roots will form.
- Place your cuttings in an area that is consistently warm (65° to 75° degrees Fahrenheit) and receives very bright, indirect sunlight.
If necessary, use grow lights and a heat mat to provide a healthy level of warmth and light.
Provide a thorough initial watering using clean, room temperature water that has been allowed to sit in the open for 24 hours so that all the chemicals have a chance to evaporate.
After the initial watering, keep the soil moist, not soggy.
Never allow it to dry out completely.
How Long Will It Take For Roots To Grow?
You may see new leaf growth in a week or so.
It may take up to a month.
As long as your cuttings stay green, you needn’t worry about them.
If you haven’t seen any new leaf growth within a month, give your cuttings a gentle tug to see if they are rooted in place.
Should You Use a Rooting Hormone?
You can use rooting hormone (or honey) for geranium cuttings grown in the soil if you want to.
Generally speaking, they grow quite enthusiastically without this added boost, though.
Should You Cover The Cuttings With Plastic?
If you live in a very cold and dry area, you can lightly toss a clear plastic bag over your geranium cuttings.
If you can control the temperature and the humidity surrounding your cuttings, this is not necessary.
Remember that geranium leaves and stems are a bit furry, so good air circulation is very important to prevent fungal growth.
If you cover your geranium cuttings with a plastic bag, you may inadvertently encourage mold to grow.
How Do You Transplant Geranium Cuttings?
If you have started your cuttings in water, you can the following steps:
- Transplant them into a light, airy potting mix when they have several sets of strong, healthy roots about an inch long.
- Use a good quality potting soil in a breathable container (e.g. terra cotta) at least 4” to 6” inches deep with plenty of drainage holes.
- Provide a thorough initial watering and continue to keep the soil slightly moist, not soggy.
- Never allow it to dry out completely.
- Keep your freshly transplanted cuttings in a sheltered, consistently warm area with bright, indirect sunlight until they have become established.
Once established, you can begin transitioning them to an outdoor setting if you wish.
If you have started your cuttings in a soil mixture, you can go straight to transitioning the geraniums to the outdoors in their original containers once they have become established.
If it’s still too cold for them to go out, and they have outgrown their original containers, repot them as you would any houseplant and keep them as houseplants until the weather warms up.
Then you can begin transitioning them outdoors.
How Do You Transition Geraniums To An Outdoor Setting?
To begin transitioning your indoor-grown geraniums to your garden for spring and summer, wait until all danger of frost has passed.
- Choose a sheltered outdoor location where they will receive bright, indirect sunlight and will not be shocked by the harsh, cold wind.
- Set them out for a few hours daily, during the warmest part of the day.
Do this for about a week and then move them to slightly less sheltered areas for longer periods.
Within a couple of weeks, you should be able to set them up in their permanent spring and summer locations.