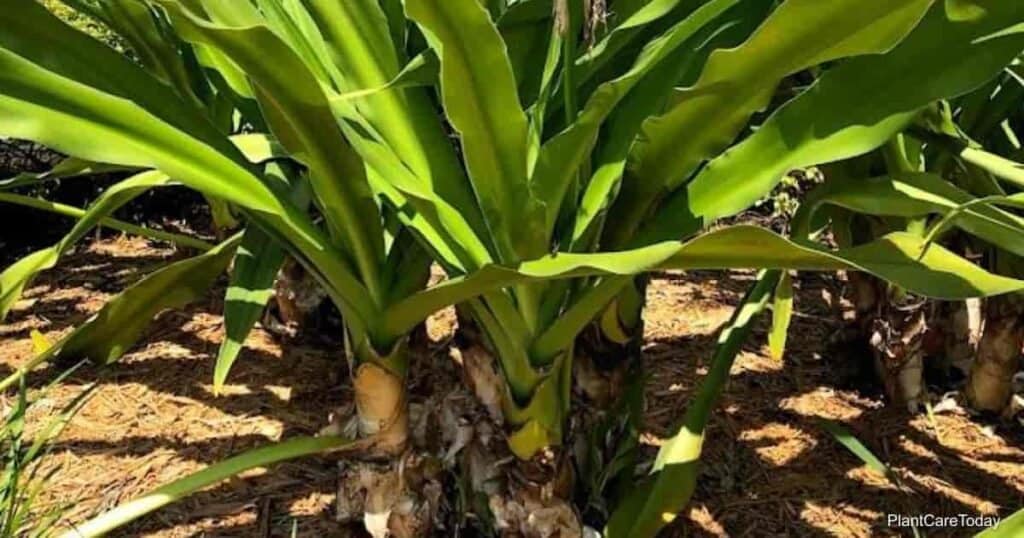
Crinum lilies (better known as spider lilies or swamp lilies) are a genus of 105 or so species, many of which grow in swampy ground.
They come from all over the world and, despite the name, are actually from the Amaryllidaceae family.

While there are many crinum lilies to choose from, the two most popular are Crinum asiaticum and Crinum americanum.
But regardless of which Crinum species you have, these curiously attractive plants are a great accent for water features and gardens, with a higher cold tolerance than many other garden plants.
That said, you may wish to propagate more rather than buy seedlings once you find a species you like.
How Do You Propagate Crinum Lily Plants?
Propagating crinum lilies is fairly easy, depending on the method, and there are three different methods you can choose from.
You may already be familiar with seed and division methods, but many crinums also have a unique method: bulbils.
Propagating through Division
This method may take a little more strength than other bulbous plants, as some species can have offshoot bulbs weighing up to 20 pounds!
Crinums have very sensitive roots, so be sure to limit how often you divide and take your time.
Before beginning, you should lay a tarp beside the plant, have a sharp, sterile knife, and have planting holes already prepared for the plantlets.
Mix 2″ to 3″ inches of compost into excavated soil to have it ready.
In the spring, carefully dig 6″ inches away from the Crinum plant, aiming straight down about 2′ feet deep, then gently lift the plant from the ground and lay it on a tarp or similar surface.
Slowly remove the excess dirt until the bulb is visible.
Around the main bulb, you’ll find several bulblets.
Using your knife, carefully cut away the desired number of Crinum lily bulbs, only removing those with a stem growing from them.
Bulblets larger than 6″ inches may be further divided, as long as each division has at least one stem.
Plant these bulblets immediately to prevent them from drying out using the compost-enhanced soil.
The planting depth should equal the original depth of the bulbs to prevent rot or other issues.
Water the mother plant and its new offspring immediately, keeping the soil evenly moist for the first month.
Note that the plants will be late bloomers as a side effect of having their roots disturbed.
Propagating Crinum Lilies via Seeds
Seed propagation isn’t less popular because of any extra work. It’s actually because most crinums don’t produce seeds in favor of bulbils.
If you have a species that does, you can plant the entire seed pod and have blooms in about 5 years.
Begin by harvesting the seed pods and placing them either on a small pot of soil or gently pressing it into the soil.
Water the pot and place a clear plastic baggie over the top to keep warmth and humidity in.
After a few weeks, you’ll see a little creeping shoot emerge.
Once the shoot finds soil, it will burrow in and develop roots.
In another 4 to 6 weeks, small green shoots will emerge.
After 2 to 3 years, transplant to a permanent garden space or a larger container.
Note that each time you repot crinums, they can take 2 to 3 years to bloom again, so plan if keeping one as a container plant.
Propagating Crinum Bulbs
Having become well-adapted to swamplike terrain, many crinums have developed a hardier alternative to seeds called bulbils.
Depending on the species, 1 to 3 of these bulbils will form at the base of each flower.
They are an above-ground tuber, and as the flower dies and the bulbil matures, its weight will bend the stem back to the ground to take root.
This prevents the bulbil from being washed away or drowning like seeds.
You can encourage this type of propagation by placing a pot of damp soil near a potted mother plant as the bulbil-laden stem begins to sag, guiding it onto the soil surface.
For outdoor plants, the bulbil can simply be allowed to sag to the soil on its own.
Be sure to keep the soil evenly moist in both cases to aid in germination.
In about 1 to 2 weeks, the bulbil will sprout a single leaf to begin photosynthesizing on its own.
It will then begin growing its roots, and you can simply clip the stem in another month or so, leaving you with a healthy plantlet.