Many wanting to designed dry creek beds often end up with drainage problems. In terms of functions and form, they do not perform as a dry creek should perform. Truly, they help in pushing away the excess waste and dirt, but they simply lack the artistic realism of a dry creek.

If you look at dry stream bed in a well designed water garden, you will discover that they look so natural and they serve their purpose so well. Fortunately, it is not rocket science.
Anybody can design one that will look not only natural, but also functional and aesthetically pleasing. When they are laid out properly, dry creeks can offer you a natural and soothing feel.
They can also serve as a drainage path that will leave your lawn or garden clean and inviting to visitors.
If you are looking for a way to create an effective dry creek, there is a way out.
In this article you’ll find:
- Dry creek bed ideas
- Dry river bed landscaping ideas
- Dry creek bed pictures
- Dry creek bed landscaping ideas
- How to make a drainage ditch look good
- Dry creek designs
Follow these guidelines, and make your dry creek bed achieve its full potential.
1.

Know how water moves. The first step in building an aesthetically pleasing, functional dry creek is to first study how water moves naturally. Also study water gardens and experience how this liquid makes its way around obstacles.
If you live around a river or mountain, it is easier. If not, you can arrange for a trip to one and observe this phenomena.
Related: A Pondless Water Feature… Is It Right For Your Garden?
Go with a camera, notebook, and pen. Study how water scurries around moss boulders, how it pushes branches, and make its formation as it rushes down its destination.
Creating a dry creek that serves its purpose should be fun and the activities that lead to it should be exciting as well.
2.

The first thing you need to do is to check the plants growing around any river rock during your trip. Observe the plant size, color, texture, and shape. This should give you enough information on how to design your own dry creek bed landscaping or dry river bed landscaping.
3.

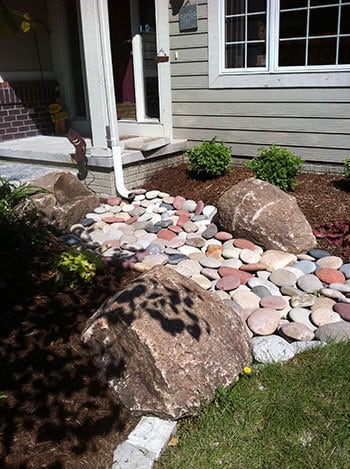
Create an original shape. If you look at this picture, you can see that this is a simple creek bed. However, a creek bed does not have to be so simple. If you observe water streams, you will see that they are not always linear.
Their shape have been dictated over millennia. If you are building around rocks or existing structures, that is even better, as it will allow your routine come out complex and beautiful.
4.

Determine the depth and width of your creek. You need to decide on how deep and wide you want the creek bed to be. Don’t underestimate the amount of water that can run off a roof – this might compromise the function of the creek.
If you want it small like this, it means you have already observed the amount of water that runs off your roof and this will suffice.
5.

Create a path for the bed. Don’t forget to pitch your dry creek bed from top to bottom so that water can go to appropriate plates. If you have a sloppy garden, you may not need to dig deeper.
Related: Homemade Garden Fountains
Moreover, if you want to direct the water for irrigation purposes or to a particular location, you can use a sump pump to do that.
6.

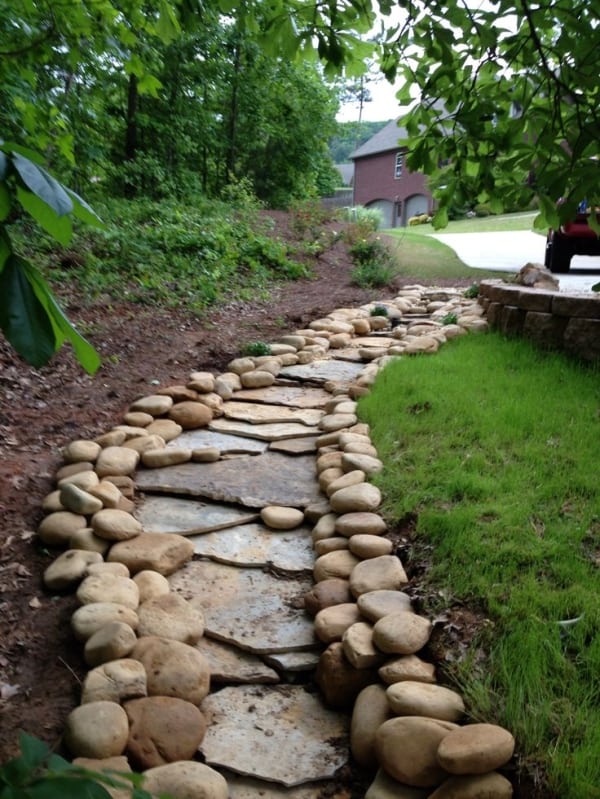
Make it useful. In this picture, the creek bed on the roadside is well designed and is at an appropriate location. This will most probably help against flooding when there are heavy rains.
7.
Manage the space. If you have a small area you want to use for your landscape design, make sure you maximize it. In this case, you don’t have to select gardening stones of varying sizes. Choosing rocks of the same sizes throughout the feature and only tacking with a few bigger ones.
8.
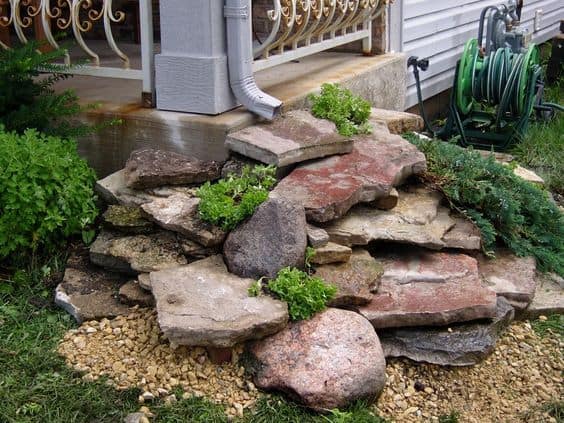
Now choose your stone type. You should choose stones that are indigenous to your locale so that it will fit in well with the environment and you don’t go too far to get appropriate ones to use. The stone here is appropriate for this location but may be out of place in another location.
9.
Choose varying levels of your stone. In this feature, we can see flat stones that are used as the bedding surrounded the smaller, round stones. Most streams have a collection of stones and may be arranged haphazardly. Following suit means your own bed can also have that natural look and achieve the same effect.
10.

Flowers and other beatification. You may like to make your creek bed look as naturally as possible by adding flowers. However, you need to have enough space for this to be achieved. If you are creative, you can easily maximize whatever space you have.
11.

Avoid soil erosion. One of the problems of dry creek beds is soil erosion, but you can prevent this before finishing with your final product. When designing, make sure the stones are placed higher than the level of the water passage. You can also use a strawberry begonia to soften the area where the rock and soil meet so that there will free flow of water.
How To Build A Dry Creek Bed
12.
Here, the first step is to map out the route of your feature as you can see in this picture. You can use paint to draw the path of the creek bed. Curve the path instead of creating straight lines so that it can look as natural as possible.
The next step is to dig the trench. This is where you will fill the gravel you see in the picture above. You can use a rototiller to help you with the digging.
However, if you try hard enough, you can do it in a day, especially if the area you want to use is soft. The soil that you dig out should be used as mounds on both sides of the trench.

Fill the sides of the creek with boulders of varying sizes. You can also create an expression for them with the soil you dug out so that they can sit tightly.
After that, bring up the soil around the large boulders so that they don’t move. Make sure the smooth and fresh sides of the rocks are facing out.

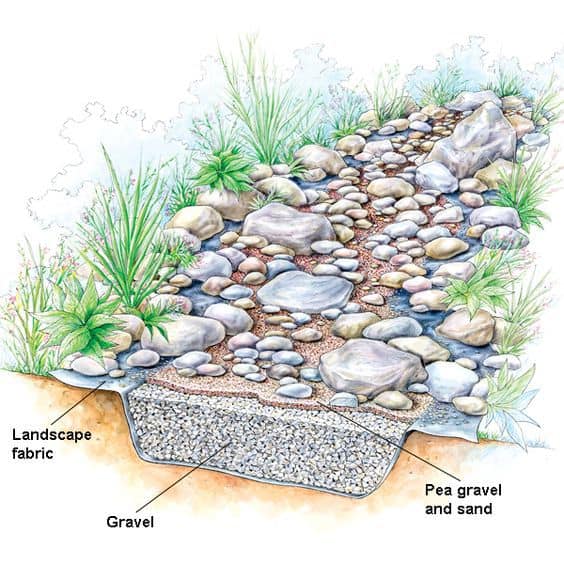
Before filling with gravel, use a weed fabric or landscape fabric on the trench and spread it around the creek. This will prevent weeds from growing inside and beside the creek bed later on. When you are done with that, fill it with gravel.
The next step is to tile the gravel with sand and pea gravel. You should use this mixture in such a way that it covers the sides, and additionally it goes over the creek. This should be done so that the grass cover is completely hidden from view and the gravel is invisible too.
The last step is to fill the newly made dry bed creek with rocks, pebbles and stones of your choice.

As you can see in the picture, they are evenly spread about to look like a natural creek. When you are done, you will have your own dry creek bed to be proud of.