Chlorophytum comosum (kloh-roh-FY-tum kom-OH-sum), better known as the spider plant, is one of the most popular houseplants for many reasons.
It’s safe and non-toxic to cats and dogs, extremely low-maintenance, adaptable to a wide range of conditions, and one of the first entries on NASA’s clean air list.
Of course, the low maintenance and wide variety of cultivars are the biggest draws for spider plant enthusiasts.
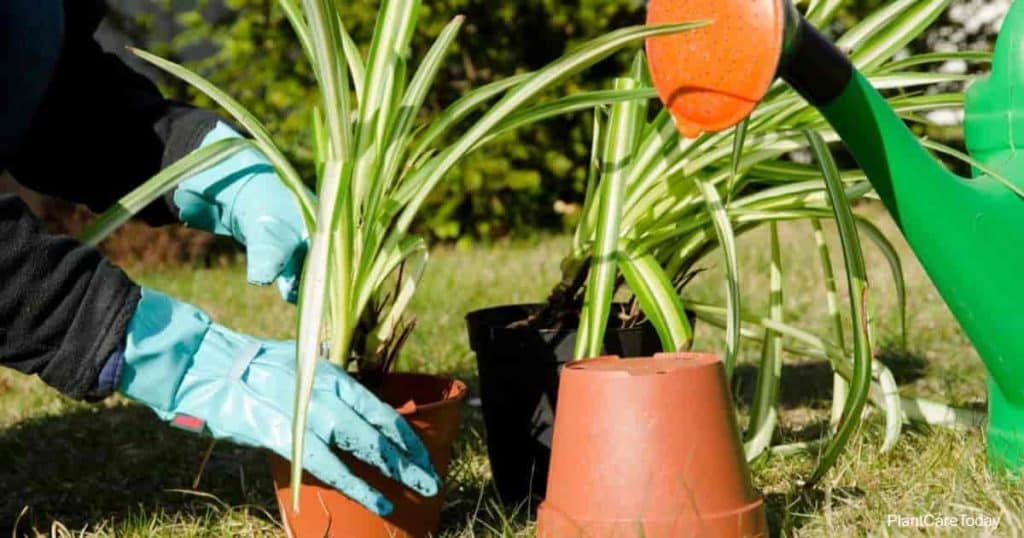
One of the many elements of plant care is knowing when and how to repot a plant.
When it comes to spider plants, the “when” and “if” rely heavily upon what you want out of it, although you should always aim to do so in spring.

Here are some tips that will help you decide how often to repot, as well as some various reasons you may want to do so.
Tips On Spider Plant Repotting
Spider plants don’t mind being root-bound, so you can leave it in a pot to restrict its growth.

However, there are some advantages to repotting annually, which are useful tips when you want to get certain results from your spider plant.
Tip #1: Growth
One of the more obvious reasons to repot your spider plant is to encourage growth.

Check the drainage holes of your container in early spring to see if any roots are poking out.
As a general rule, an airplane plant will take 2 to 5 years to reach full size, so you may need to repot annually during this time.

Conversely, you may have limited space and wish to keep the spider plant a smaller size.
To do this, simply allow it to become root-bound, and its growth will slow without any actual harm to the plant.
Tip #2: Flowering
Getting a spider plant to bloom requires a lot more consideration, as it has specific light, potting soil, and space requirements.

Making sure the spider plant has a couple of inches to stretch its roots will help your spider ivy produce its white flowers, which will give way to spider plant babies.
Tip #3: Spiderlings Help Themselves
Spiderlings are a great way to get additional spider plants, but did you know you can get them to repot themselves?
Simply place some smaller pots beside the mother plant’s pot and guide a spiderling or limb onto each new pot.

The spiderlings begin forming root buds while still exposed to air, so you can gently press them onto the soil and hold them down with an opened paperclip.
In 2 to 3 weeks, the spiderling will have developed sufficient roots that can be severed from the mother plant and given away or relocated to another part of the house.
Tip #4: Propagation
Speaking of propagation, one of the easiest methods can be done while repotting.
A spider plant that has become root-bound can be gently removed from its pot and the roots divided into two or three sections.

Then, simply plant the sections in their own pots to have three spider plants.
This method is great for when you want to limit the plant’s growth but also want to gain additional plants to give away.
Tip #5: Feeding
Because spider plants aren’t too demanding, they don’t drain a soil’s nutrients as fast as many other plants.

NOTE: Avoid tap water and use distilled water when possible. Tap water contains chemicals harmful to plants.

By replacing the soil annually or completely repotting, your spider ivy won’t require any additional fertilizer unless you’re hoping to get flowers that year.