
Italy is famous for its food, and a few ingredients have a devoted following. Along with balsamic vinegar, Prosciutto di Parma and Parmigiano Reggiano, the San Marzano tomato is one of them.
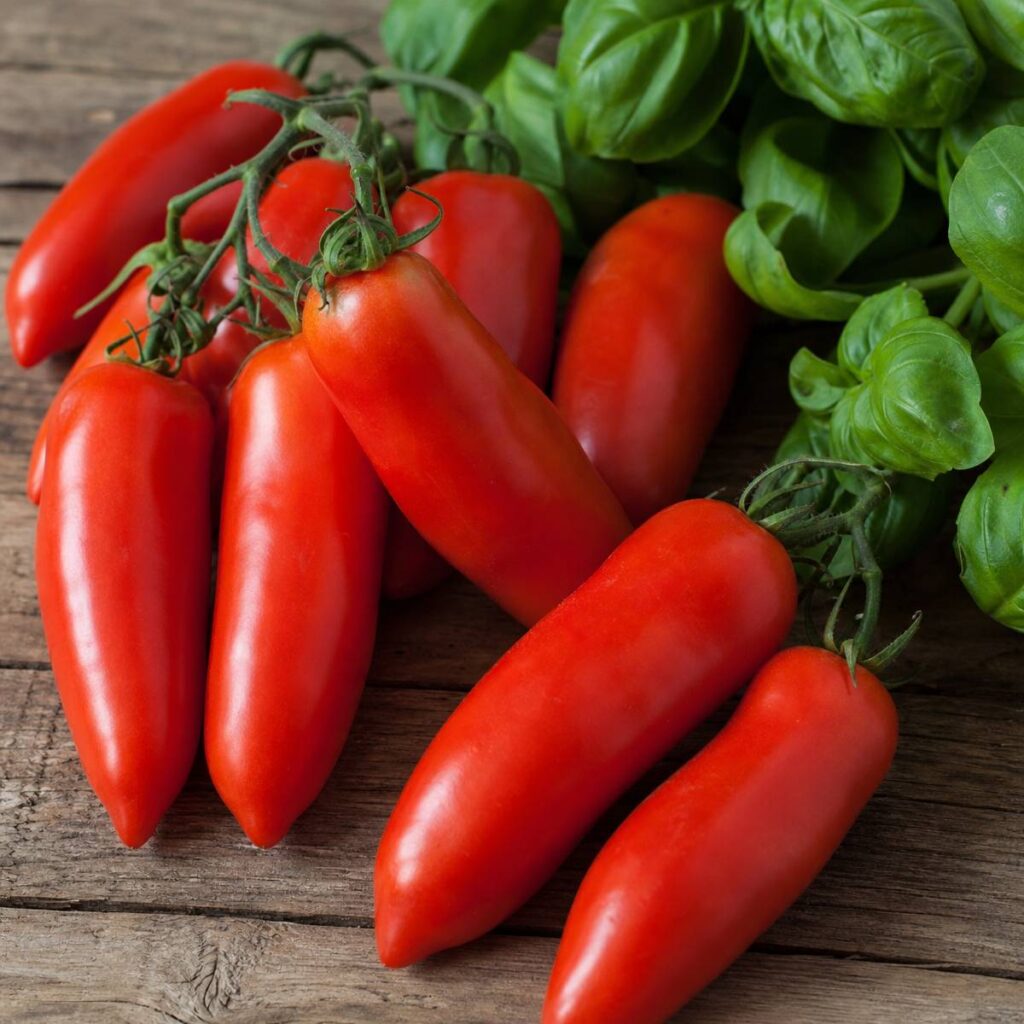
San Marzano is an elongated plum tomato. The Consortium for the Protection of the San Marzano tomato describes the fruit as having thin skin, firm, fleshy pulp and few seeds, and says that dense pulp holds together when the tomatoes are processed into peeled tomatoes and sauce.
You can grow the plant at home, and this guide shows you how. Just know up front what you’ll get and what you won’t.
What Makes San Marzano Different?
Start with the fruit. It’s long rather than round, usually six to eight centimeters (roughly two and a half to three inches), and bright red when ripe, with thin skin that peels off easily. The Consortium describes the flavor as strong, with both sweet and sour notes.
Where they come from matters too. The famous ones grow on the Sarno plain in Campania, Italy, in soils the Consortium calls deep and fertile, rich in organic matter, with plenty of phosphorus and potassium. You can’t copy that soil exactly at home, and we’ll get to what to do instead in a minute.
Your backyard tomatoes won’t carry the protected San Marzano name, which has a narrow legal meaning (more on that below). They can still earn a spot in your sauce pot.
Where Can You Get San Marzano Tomatoes?
You can grow your own, or you can buy them canned. The catch is that the famous name is narrower than most people expect. Since 1996, Pomodoro San Marzano dell’Agro Sarnese-Nocerino (DOP in Italian, PDO in English) has referred only to peeled tomatoes.
Under the EU’s product specification, those are S. Marzano 2 and/or KIROS tomatoes, grown in a defined area of Campania and processed into canned or jarred peeled tomatoes there. Fresh tomatoes aren’t covered.
When you shop, read the label. The specification requires a protected can or jar to show the full name, the EU symbol, the words Denominazione di Origine Protetta or its acronym, the producer’s name, the year the tomatoes were picked and processed, an expiry date and the DOP logo.
A can that says only “San Marzano” without those marks may hold a San Marzano-type tomato, but it isn’t the protected product. Check the label on any brand you buy.
Who checks? The Consortium protects the name and keeps the register of producers and processors entitled to use the mark. Certification is done by Agroqualità, the body designated by Italy’s agriculture ministry, and the Consortium says only numbered, certified packages reach the market.
How To Grow San Marzano Tomatoes
Here’s the order of operations, using home-garden guidance from UF/IFAS and UMN Extension.
Check your seed packet first
“San Marzano” is a name shared by several seed lines, so read the packet or plant tag before you plan your space. One seed company lists its San Marzano as an indeterminate heirloom, and another sells an open-pollinated line as determinate. The difference matters.
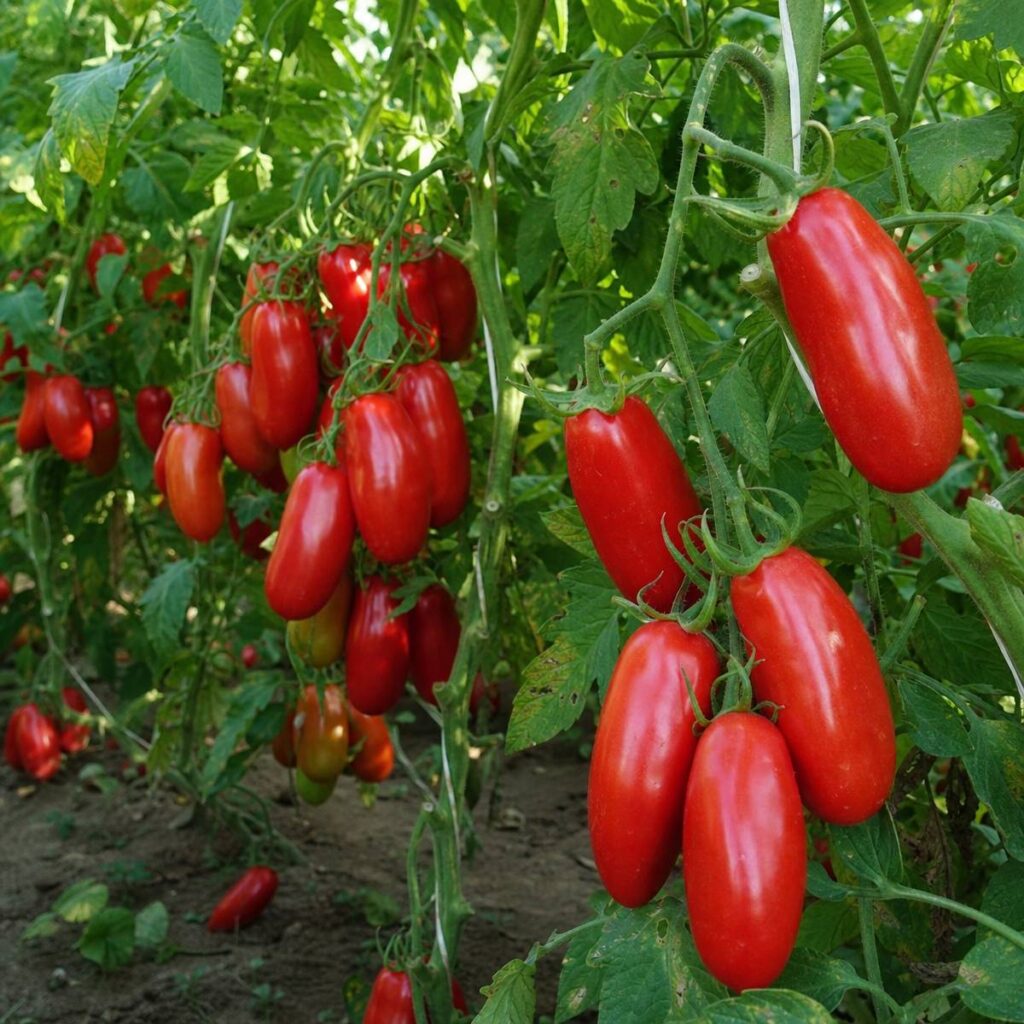
UMN Extension says indeterminate plants are vines that need cages, stakes or trellises and keep producing until the weather turns cold. Determinate, or bush-type, plants stop growing, ripen their fruit within about four to six weeks and don’t need pruning, staking or trellising.
UF/IFAS adds that most tomatoes benefit from staking or trellising to keep fruit off the ground.
Start seeds indoors
Plan on starting seeds about five to six weeks before you’ll plant outside, per UMN Extension. UF/IFAS gives a wider window of four to eight weeks before your outdoor planting date. UMN adds that plants started earlier are difficult to manage and don’t necessarily give earlier harvests.
Sow seeds about a quarter inch deep in a light, fine-textured seed-starting mix. Tomatoes germinate best in warm soil, and UMN suggests a heating mat that holds the flat at 75°F to 85°F until seedlings emerge, then about 70°F. Keep the mix evenly moist, never soggy and never bone dry, and give seedlings bright light directly overhead so they don’t stretch and lean.
A clear plastic cover works like a mini greenhouse until the second set of leaves appears. Then remove it and add a small fan for air movement, as in UF/IFAS.
If you sowed two or three seeds per cell or per small peat pot, let the strongest seedling stay and remove the weaker ones. If you sowed over a single tray, thin or transplant so seedlings sit about two inches apart once true leaves appear.
Prepare the soil
You can’t copy volcanic soil, but you can build a rich, well-drained bed. Start with a soil test through your local Extension office, which UF/IFAS recommends. Ideal pH ranges differ by source, with UF/IFAS giving 6.2 to 6.5 and UMN saying 5.5 to 7, so go by the advice that comes with your own test. Work in compost or composted manure before planting.
Add phosphorus and potassium only as the soil test recommends. UMN notes that many of the state’s soils already have enough phosphorus, and that too much nitrogen produces bushy, leafy plants that bear fruit slowly.
UF/IFAS also lists excess magnesium or potassium as factors that can make soil calcium unavailable to the plant, which comes up again under blossom end rot.
Related Reading: Best Organic Fertilizer For Tomatoes
Harden off, then plant
Don’t rush tomatoes outside. Wait until all danger of frost has passed and the soil has warmed. Over the week or two before you plant, harden your seedlings off: start with two hours of morning sun, then four, then six, until they’ve spent a full day outdoors, and water them at the start of each outdoor stretch.
Plant on a cloudy day or late in the afternoon, and water the seedlings well beforehand. Plant them deeper than they sat in the pot.
UF/IFAS says slightly deeper, and UMN’s method is to dig a trench three to four inches deep, remove the lowest leaves and lay the plant in it, burying the stem up to just below the lowest remaining leaves so new roots form along the buried stem. Firm the soil around the roots and water again.
Water daily for the first week, and hold off on fertilizer for 10 to 14 days while roots settle in, per UF/IFAS. Give vining plants two to three feet of space in every direction, per UMN. Put stakes or cages in at planting time.
Water, mulch and support
Aim for about one to two inches of water a week. UMN calls one inch ideal, and UF/IFAS gives one to two inches. Soak deeply rather than sprinkling, since UF/IFAS prefers one heavy soaking a week over several light waterings.
A shallow basin around each plant keeps the water where the roots are. Keeping plants well watered matters most while fruit is swelling, because UMN says fluctuating soil moisture during fruit growth can bring on blossom end rot.
Water at the base, since wet leaves are more prone to disease, and mulch to retain moisture and suppress weeds.
Give your tomatoes support with a tomato cage or stakes. Secure them with soft strips of cloth or pantyhose, which hold plants in place without damaging stems. For the protected Italian crop, the Consortium says the only permitted cultivation method is vertical, on supports and horizontal wires.
If you grow an indeterminate line, UF/IFAS says to remove the first few side branches as they appear, leave two to three main stems and tie plants to stakes at a few heights just below the fruit clusters. Skip the suckering on a determinate line.
Growing in a container? UF/IFAS calls a five-gallon bucket with drainage holes an easy option and suggests smaller-growing varieties, at least six hours of sun and consistent watering. UMN says bush-type plants may be the only option for containers, so know that before you buy an indeterminate San Marzano.
Watch for blossom end rot and hornworms
Blossom end rot shows up as a dark, leathery spot on the bottom of the fruit, the end away from the stem. It isn’t a disease or an insect problem.
UF/IFAS explains that it happens when not enough calcium moves with water from the roots to the developing fruit, and it names three main causes: inconsistent watering, too much nitrogen, and calcium that is unavailable in the soil.
Once a fruit has it, you can’t fix it, so prevention is key. Water consistently, mulch, have your soil tested and avoid damaging roots.
Plum and paste types are the ones to watch. University of Maryland Extension says the symptoms are most often seen on large plum or paste-type tomatoes.
Hornworms are big green caterpillars that feed on leaves and sometimes fruit, and their green color helps them blend into the foliage, according to Virginia Cooperative Extension.
Check your plants every day, look for stripped leaves and large droppings underneath, and pick tomato hornworms off by hand. If you find one covered in small white cocoons, leave it in the garden: those are parasitic wasp cocoons, and the wasps go on to seek out other hornworms.
Planting in Florida?
UF/IFAS lists planting windows for staked or caged tomatoes of February to April and July to August in North Florida, January to February and August to September in Central Florida, and August to February in South Florida.
It also says that once average nighttime temperatures climb above about 80°F, large-fruited tomatoes keep flowering but stop setting fruit, with cherry and grape tomatoes as the exceptions, so time your planting to get fruit set before the summer heat arrives.
Patience & Persistence Pay Off!
For staked tomatoes in general, UF/IFAS’s Florida planting chart lists about 70 to 90 days from transplanting to first harvest. Your seed packet gives the number for your line. In Campania, growers transplant from the first half of April into early May, and the harvest runs from July 30 to September 30, so patience is part of the deal.
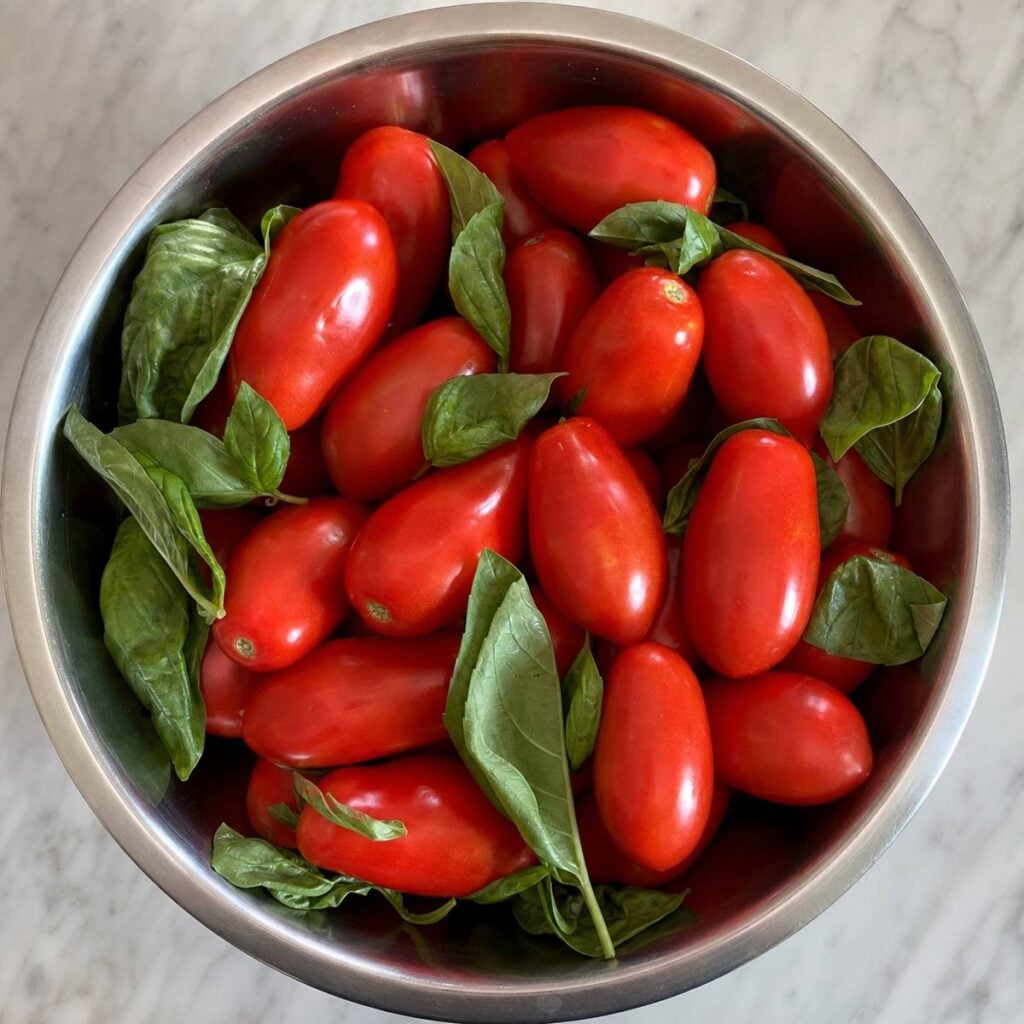
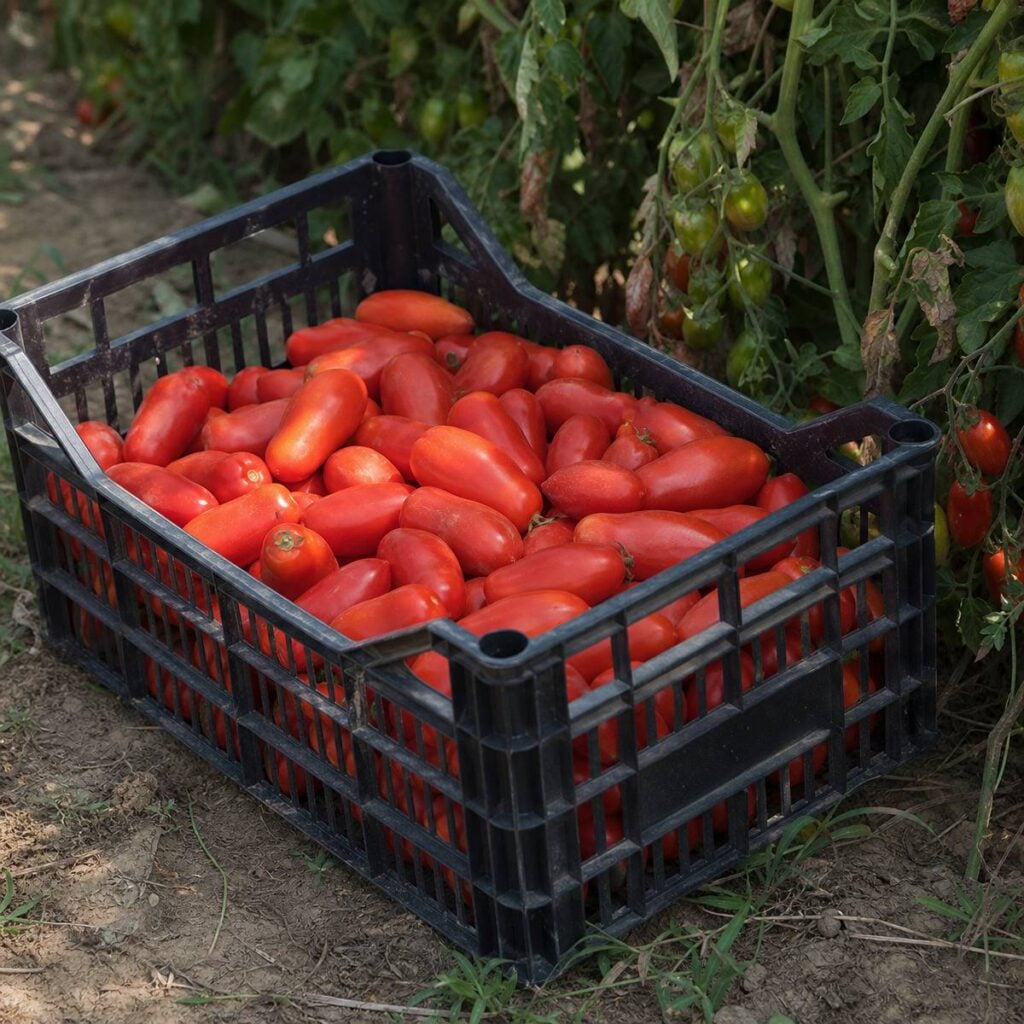
Pick fruit when it’s fully colored. UMN says most types come off the plant easily when ripe or close to ripe. San Marzano ripens gradually, so expect to pick in several rounds. The Consortium says it harvests its fruit by hand, in batches, at full ripeness.
Before the first frost, bring in the fruit. UMN says tomatoes picked truly green will probably never ripen to good flavor, but fruit picked when the green is fading and starting to turn white or pink shouldn’t disappoint.
Store them at room temperature, one layer deep and not touching. Warmth matters more than light. Then enjoy all that tomato flavor in sauce and salads.
Have you grown San Marzano tomatoes? Tell us how yours turned out in the comments.
Frequently Asked Questions
What is a San Marzano tomato?
A San Marzano is an elongated Italian plum tomato with thin skin, firm, fleshy pulp and few seeds, according to the consortium that protects its name. That pulp holds together when the tomatoes are processed into peeled tomatoes and sauce. The protected “San Marzano DOP” label is narrower: it covers only canned or jarred peeled tomatoes from a defined area of Campania, Italy.
Are San Marzano tomatoes determinate or indeterminate?
It depends on the seed line, so check your packet. One seed company lists its San Marzano as an indeterminate heirloom, while another sells an open-pollinated line as determinate. UMN Extension says indeterminate vines need cages, stakes or trellises and keep producing until cold weather, while determinate bush types ripen their fruit within about four to six weeks and don’t need pruning.
Are San Marzano tomatoes hard to grow?
The main thing to watch is blossom end rot. University of Maryland Extension says it is most often seen on large plum or paste-type tomatoes, and UF/IFAS says inconsistent watering is one of its main causes, so keep soil moisture even and mulch.
Can I grow DOP San Marzano tomatoes at home?
No. The DOP name is reserved for peeled tomatoes from the S. Marzano 2 and/or KIROS varieties, grown and processed in the Agro Sarnese-Nocerino area of Campania, Italy. You can grow San Marzano-type plants at home, but a tomato grown outside that area doesn’t carry the protected name. For canned fruit, read the label for the DOP wording and logo.
When should I start San Marzano seeds and plant them outside?
Start seeds indoors four to eight weeks before your outdoor planting date, per UF/IFAS, and plant outside only after the danger of frost has passed and the soil has warmed, per UMN Extension. Harden seedlings off first, starting with two hours of morning sun and building up to a full day outdoors.