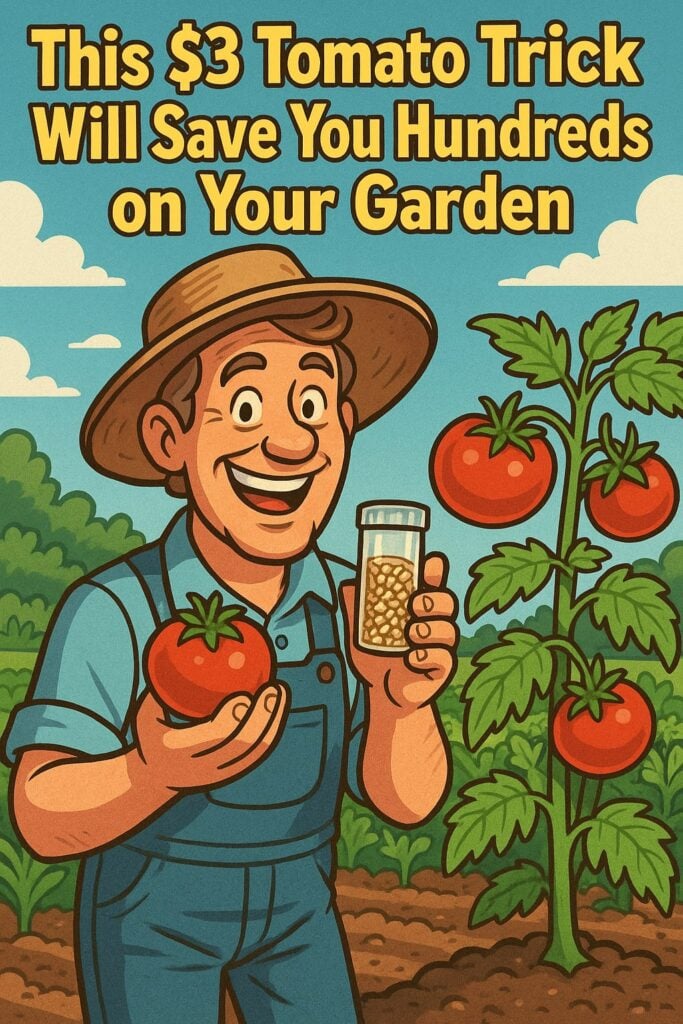
I was surprised to learn that the most expensive part of growing tomatoes isn’t the soil, fertilizer, or fancy tools. It’s those tiny seed packets that cost $3-5 each!
What if I told you that a single $2 tomato from your grocery store could produce more plants than a dozen seed packets combined?
The secret most plant experts won’t tell you is this: tomato slices are living seed factories, and they’re sitting right there in your refrigerator.
This revolutionary method has transformed my garden from a costly hobby into a thriving, budget-friendly paradise.
Why This Method Will Transform Your Garden Game
Forget what you’ve heard about needing special seeds or expensive starter plants. This slice method is like having a plant multiplication machine in your kitchen.
One medium tomato contains 150-300 viable seeds, that’s potentially hundreds of plants from a single grocery store purchase!
Your wallet will thank you, but here’s the real game-changer: you’re rescuing perfectly good genetics that would otherwise end up in the compost bin.
It’s sustainable gardening at its most brilliant, and honestly, it feels a bit like performing garden magic.
Plus, this method is foolproof for beginners. No fussy seed-starting equipment, no guessing about germination rates, no tiny seeds that disappear into the soil.
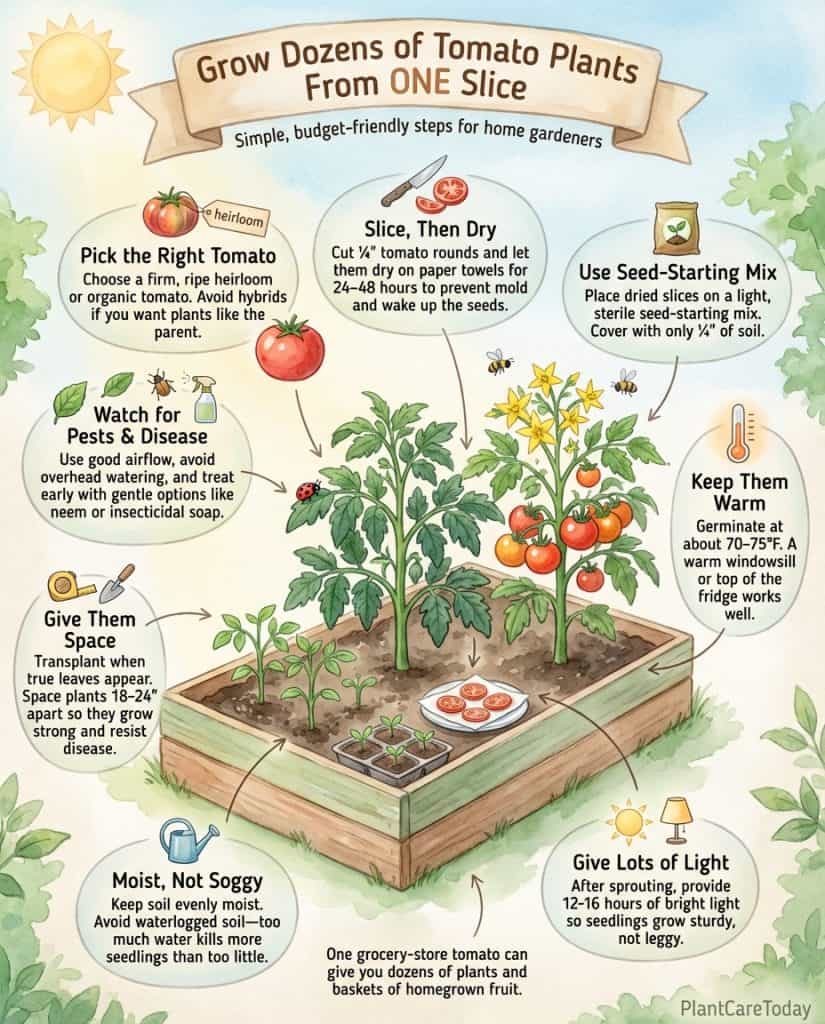
The Secret to Selecting Your Slice Champion
Not all tomatoes are created equal for this method, and choosing the wrong ones could mean the difference between garden success and spectacular failure. Here’s what separates the champions from the duds:
Heirloom and organic tomatoes are your best friends. These beauties haven’t been tampered with genetically, so they’ll produce true-to-type offspring.
Think of them as the purebred dogs of the tomato world; what you see is what you’ll get.
Avoid hybrid varieties like you’d avoid a wilted houseplant. They’re like beautiful liars; gorgeous on the outside, but their seeds won’t give you the same stunning results.
The tomato should feel firm but give slightly to pressure, with vibrant color and that fresh tomato scent that makes your mouth water.
Preparing Your Slices for Garden Glory
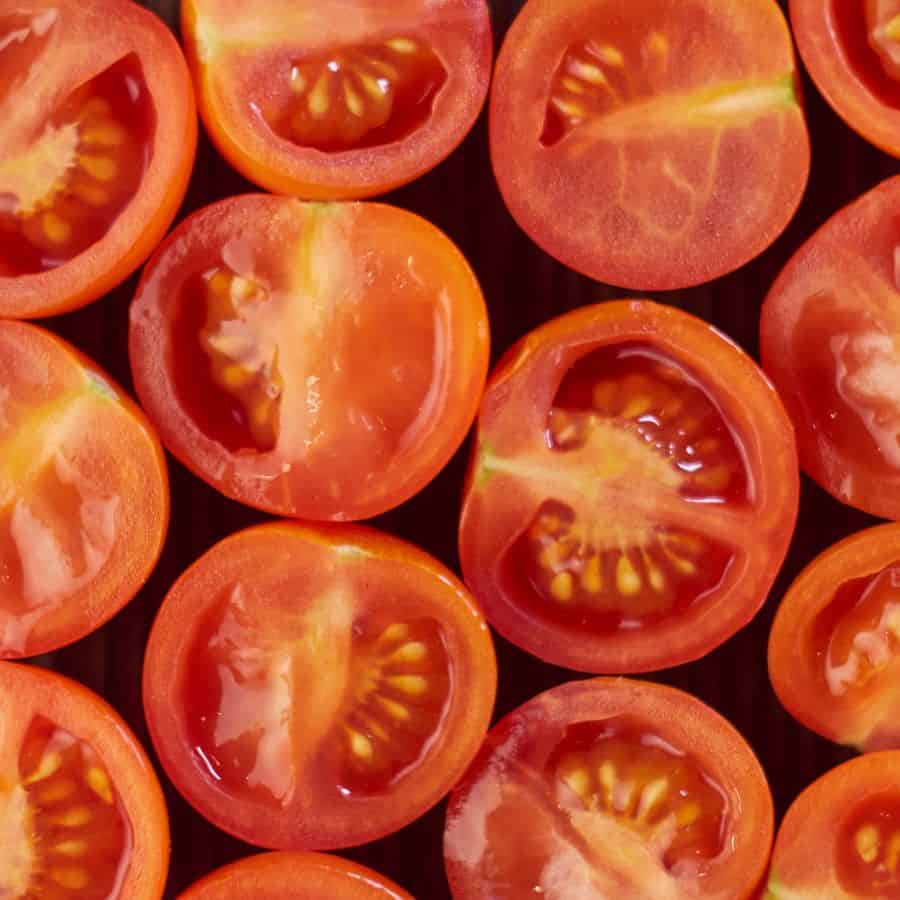
This step is where most people mess up, but I’m about to save you from that heartbreak. Slice your chosen tomato into quarter-inch-thick rounds, thick enough to retain plenty of seeds, thin enough to allow easy germination.
Here’s the crucial part everyone skips: let those slices dry for 24-48 hours on paper towels. This isn’t optional. It’s the difference between successful sprouting and moldy disaster.
The slight dehydration signals to the seeds that winter is coming, priming them for explosive spring growth.
Each slice should look like a colorful seed mandala when you’re done. If you’re not seeing multiple seeds per slice, grab a different tomato.
Creating the Perfect Growing Environment
Your tomato slices need a five-star hotel experience to perform their best. Start with a high-quality seed-starting mix. This isn’t the place to cheap out with garden soil that might harbor plant-killing pathogens.
Fill your seed trays or small pots with this fluffy, nutrient-rich mixture. Place your dried slices on top, arranging them about an inch apart, like pepperoni slices on a pizza.
Cover with just a quarter-inch of soil. Any deeper, you’re essentially burying their potential. The magic happens at 70-75°F, so find the warmest spot in your home.
Top of the refrigerator, near a heating vent, or invest in a seedling heat mat if you’re serious about this game.
Nurturing Your Tomato Babies to Success
Once those tiny green heads start popping up (usually within 7-14 days), you’ll feel like a proud plant parent.
But here’s where many gardeners accidentally murder their success: these babies need 12-16 hours of bright light daily.
A sunny south-facing window might work, but grow lights are the difference between leggy, struggling seedlings and robust future superstars.
Think of inadequate light like feeding teenagers only crackers. They’ll survive but won’t thrive.
Keep the soil consistently moist but never soggy. Overwatering kills more seedlings than underwatering, a common misconception most gardeners learn the hard way.
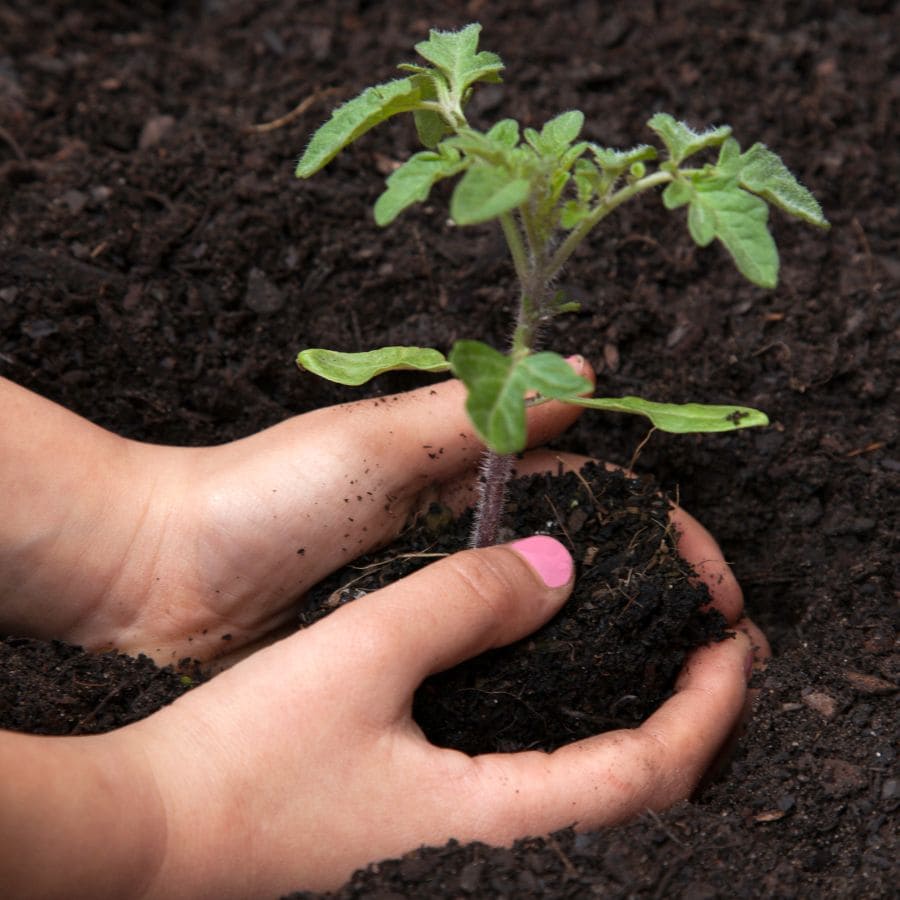
The Big Move: Transplanting Without Trauma
When your seedlings develop their first true leaves (not the initial seed leaves, but the real tomato-shaped ones), they’re ready for their big debut. This is like watching your kids leave for college, exciting but nerve-wracking.
Space them 18-24 inches apart in your garden or move them to larger containers. Crowded tomatoes are stressed, and stressed plants attract pests and diseases.
Handle them like precious jewels during this transition. A damaged root system now means weeks of recovery.
Protecting Your Investment
Your thriving tomato plants are now garden celebrities, and like all celebrities, they attract unwanted attention. Aphids, blight, and fungal infections are the paparazzi of the plant world, always lurking, waiting to cause problems.
Monitor your plants like a protective parent. Early intervention with organic solutions like neem oil or insecticidal soap can prevent minor issues from becoming garden disasters.
Proper spacing, good air circulation, and avoiding overhead watering are your best defense strategies.
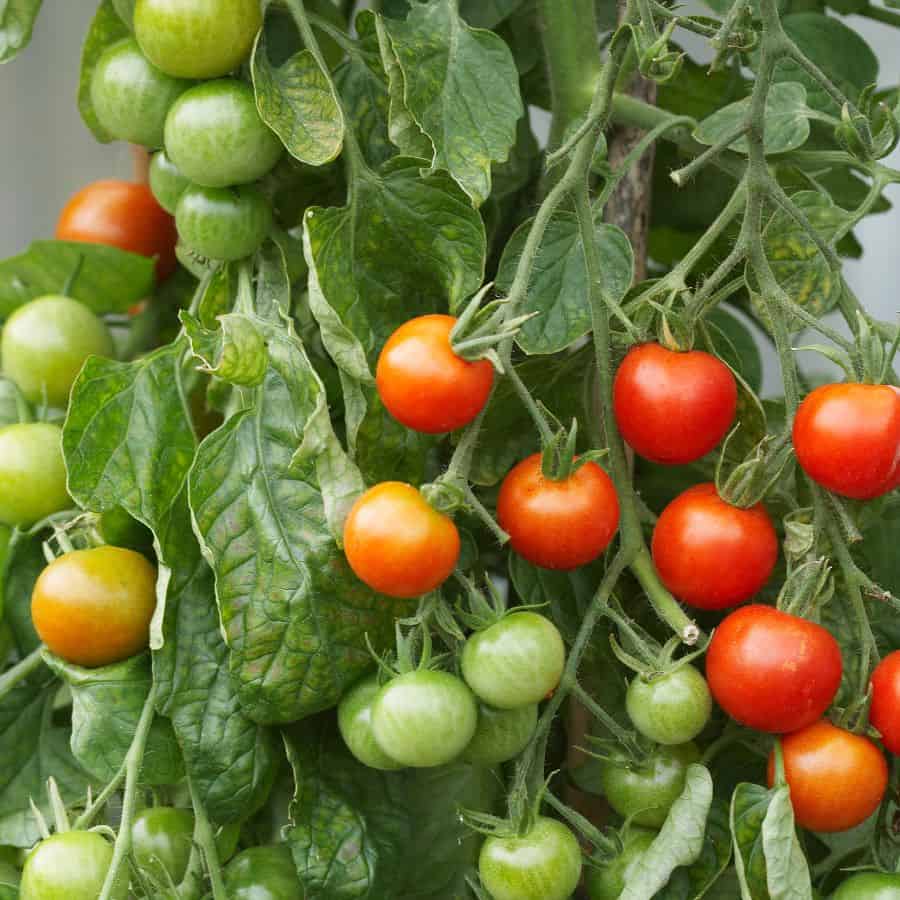
Reaping Your Spectacular Rewards
The moment you bite into your first homegrown tomato. The one that started as a grocery store slice. You’ll understand why passionate gardeners get that gleam in their eyes.
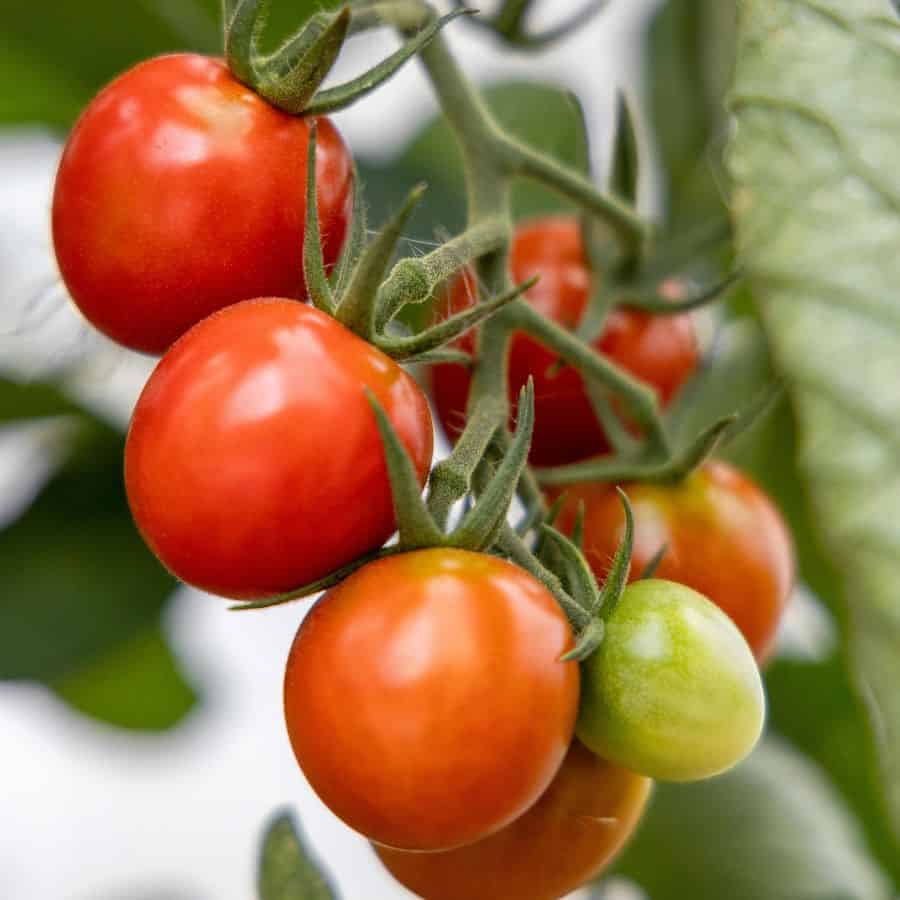
The flavor difference between store-bought and garden-fresh is like comparing a photograph to a sunset.
Harvest when the fruits are fully colored but still slightly firm. They’ll continue ripening off the vine, and this encourages more production from your plants.
From that single $2 tomato investment, you could harvest 20-50 pounds of fresh tomatoes throughout the season. That’s not just gardening success – that’s financial genius.